

Hey there, DIY enthusiasts! We usually get a lot of feedback for our DIY reviews, so we’re thrilled to bring you another exciting addition to our DIY section. Say hello to your summer skincare saviour: hydrosols. These refreshing floral waters can work wonders for your skin, but sometimes they come with a hefty price tag. But guess what? Creating your own hydrosol shouldn’t be a challenge, especially when you only need one magical ingredient: chamomile. Let’s dive together into the world of DIY chamomile hydrosol and unlock the secrets to a budget-friendly and refreshing skincare experience.
Benefits of Chamomile Hydrosol for Face Skin
Embrace the Gentle Cleanse: Wave goodbye to those harsh cleansers that strip your skin of its natural oils. Chamomile hydrosol delicately sweeps away impurities, leaving your skin fresh and clean without any dryness or irritation.
Soothe Your Troubles Away: Is your skin feeling sensitive, irritated, or stressed? Chamomile hydrosol is here to save the day! With its remarkable anti-inflammatory properties, it calms redness, reduces irritation, and brings a sense of tranquillity to even the most sensitive skin.
Hydration, Meet Glow: Say hello to a hydrated and radiant complexion! Chamomile hydrosol works its magic by infusing your skin with a burst of moisture. Get ready to rock that healthy glow and let your skin shine!
Find Your Balance: Tired of battling stubborn pores and uneven skin tone? Chamomile hydrosol acts as a gentle toner, restoring balance to your skin’s pH levels and minimizing the appearance of pores. Get ready for a more refined and balanced complexion!
You can see the full recipe for this Chamomile Hydrosol here.
For ingredients you’ll need:
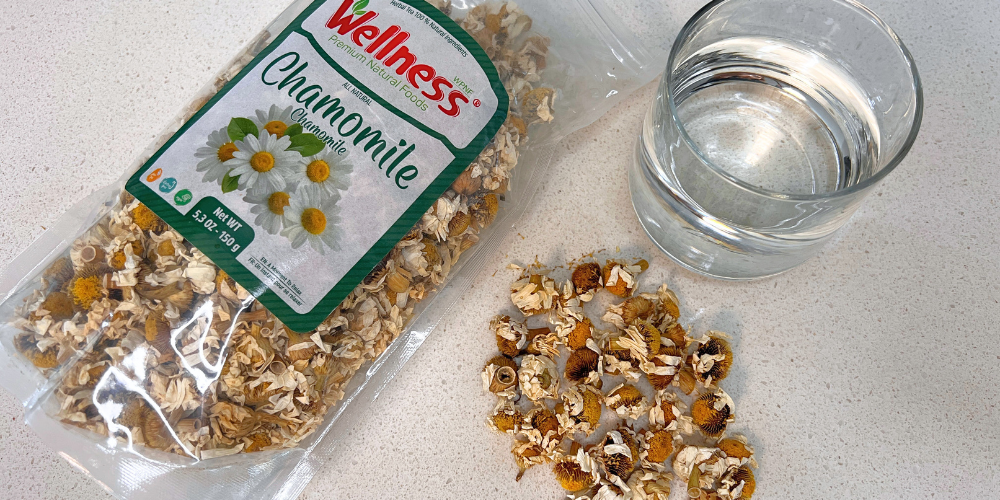
- 1 cup of dried organic chamomile flowers
- 2 cups of distilled water
- Ice cubes
- 100 ml clear glass bottle for storage

Instructions:
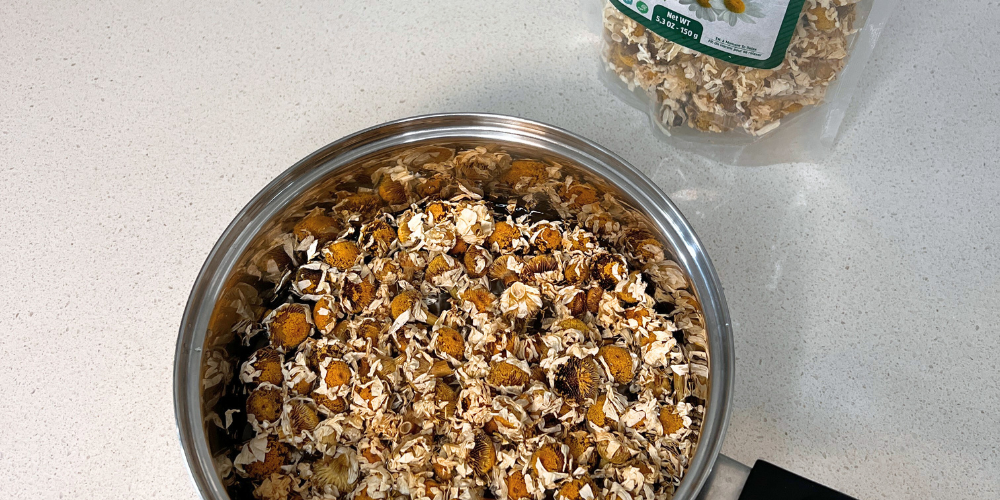
- Combine 1 cup of dry chamomile flowers and 2 cups of distilled water in a pot.
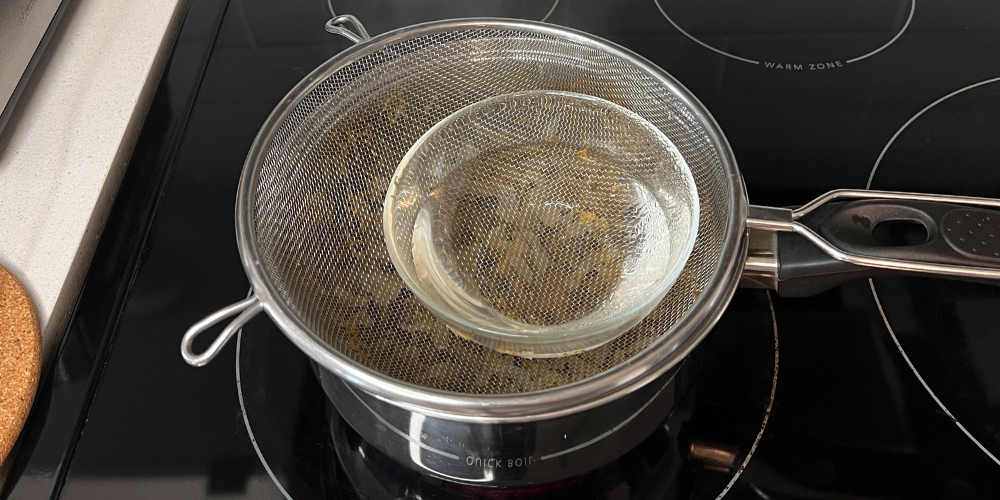
- Set up a vegetable steamer or strainer over the pot. Place a small heat-resistant bowl on top to collect the hydrosol.
- Seal the pot with an upside-down lid without steam holes. Choose a larger lid to cover the pot.
- Add ice on top of the upside-down lid. Replace the ice as it melts. Using ice bags on the lid can prevent spills. If using ice cubes directly, keep a turkey baster nearby to remove pooled water.
- Place the DIY distiller on low-medium heat on the stove for 20–25 min. As the chamomile water evaporates, the steam will rise and condense on the cold lid, turning back into a liquid. The liquid drops will fall into the center and collect in your bowl, creating your precious hydrosol.
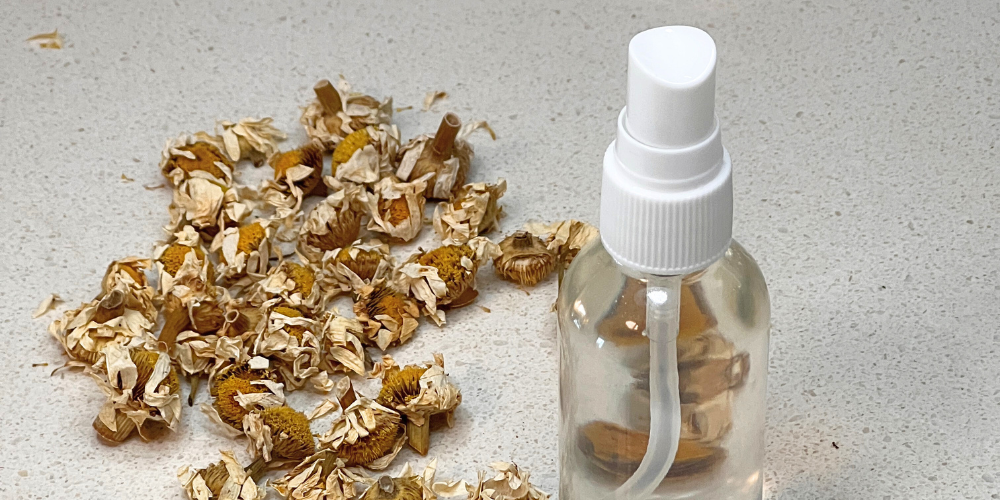
- Pour the chamomile hydrosol into a glass spray bottle, and keep the hydrosol in the refrigerator. The shelf life of hydrosols can vary depending on the type of hydrosol and storage conditions. In general, if properly stored in the refrigerator, hydrosols can last anywhere from 6 months to 2 years.
Impressions:
I’m loving the DIY Chamomile Hydrosol I made for my face! Easy, affordable, and a heavenly scent. Perfect for sensitive skin, I noticed the reduction of irritation on my skin. Perfect face spray for the summer to pamper yourself naturally!
*We are a professional review and product rating website and mobile app that receives compensation from the companies whose products we review and rate. We are independently owned and the opinions expressed here are our own interpretations of a trusted source. This blog post may contain affiliate links.
Your Soothing and Glowing Secret: A Review of the At-Home DIY Chamomile Hydrosol was originally published in Think Dirty on Medium, where people are continuing the conversation by highlighting and responding to this story.